 Regardless of the type of snow thrower, you have, changing the oil in your snow thrower and doing a tune-up at least once a year will ensure it lasts for many years. A John Deere snow thrower oil change is relatively easy to do yourself. Two main points to always remember is A)Follow the safety instructions outlined in the manual and B) properly dispose of the oil from the engine! Not only do you want to be friendly to the environment. You also do not want the mess around your home or to be storing old oil in your garage or work shed.
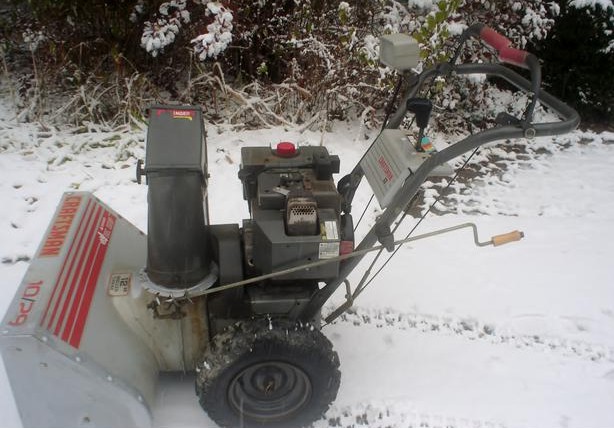
John Deere Snow Thrower Oil Change
Follow the safety instructions such as disconnecting the spark plug before working on the engine or the impeller and auger. This is one of the most important items to remember. Never do any kind of repair or maintenance on a running snowthrower. Never take the chance of poking a shovel or pole into the auger area while it is running. Many people have lost an arm or foot in this manner.
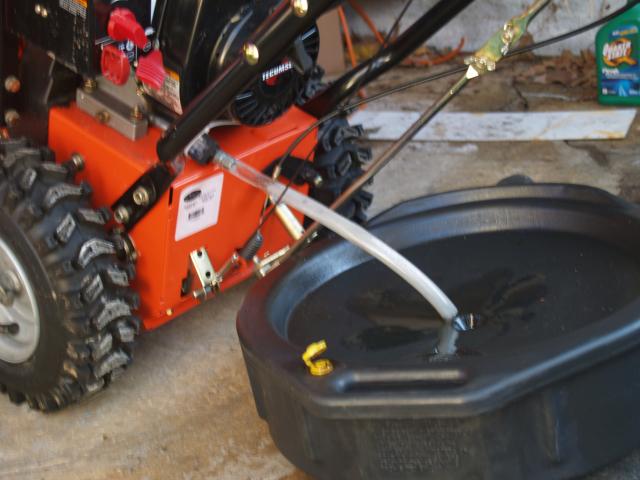
Before draining the oil, run the snow thrower engine for a few minutes to warm up the oil so that it runs freely. When it drains you will drain much more of the oil from the engine if the oil is warm or even hot. You also drain many more impurities that can settle to the bottom of the engine reservoir if the oil is cold.
Drain the oil into a reservoir and use one of the old containers to hold the old engine oil. Most garages will accept old oil for disposal or you can take it to one of the chemical disposal places in your area. Once the oil is drained, tightened the oil stop and add new oil up to the level specified on the dipstick. Run the engine for a few minutes and recheck.
It is a good idea to check the level of oil in the engine each time it is used to make sure there is sufficient oil in the engine and that it is not discolored due to overuse.